This is a classic Nutanix performance troubleshooting scenario. The issue is almost certainly that the VM was created using the wrong Disk Bus Type (IDE or SATA instead of SCSI).
Here is the step-by-step solution to complete Task 1.
Part 1: Analysis and Reporting
Create the Session
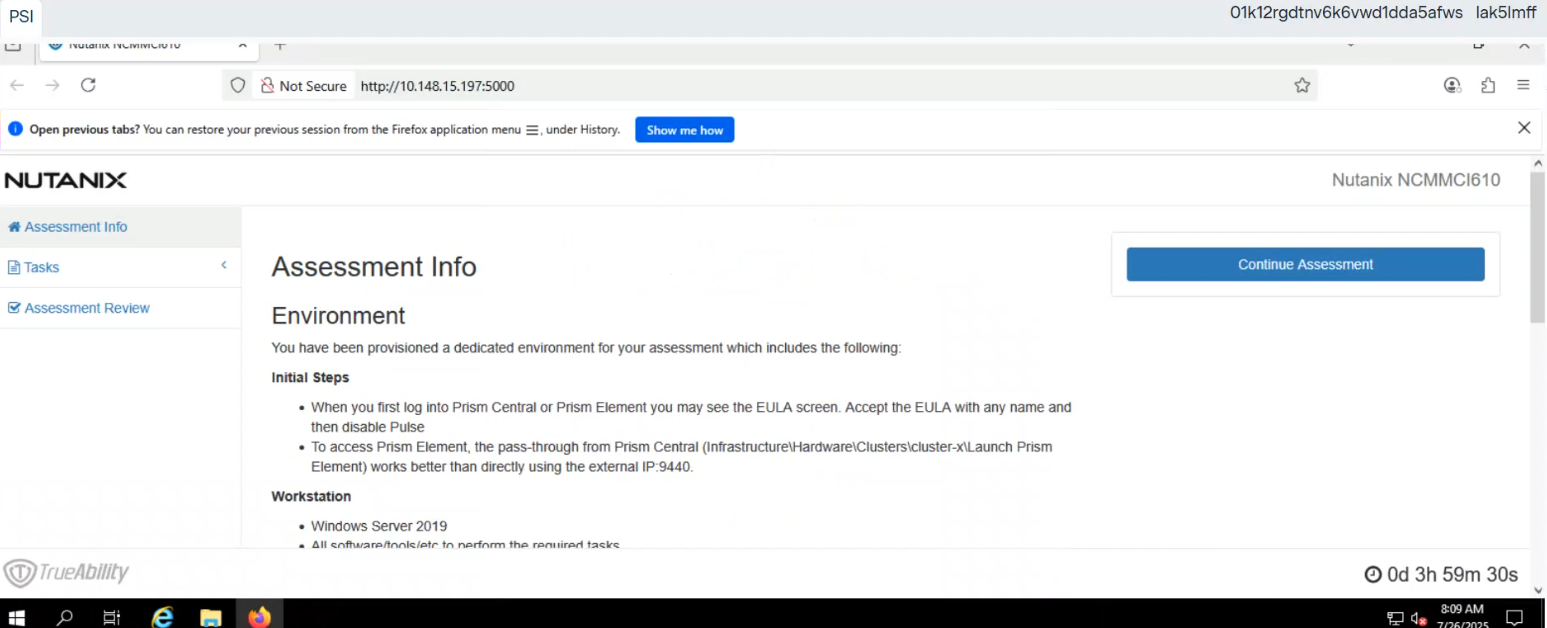
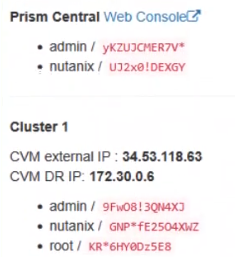
Log in to Prism Central (or Prism Element, depending on the exam environment, but Analysis is usually a PC feature).
Navigate to Operations -> Analysis.
Click New Session.
Name: Monitor SQL02
Entity: Search for and select the VM named SQL02.
Metrics: Since the issue is storage performance, search for and add these specific metrics:
Hypervisor IOPS (or Controller IOPS)
Hypervisor IO Latency (or Controller IO Latency)
Hypervisor IO Bandwidth
Click Save.
Save Session Data (Task 1.txt)
Open the 'Monitor SQL02' session you just created.
(Per instructions): Right-click anywhere on the chart/data area -> Click Select All.
Copy the selected text (Ctrl+C).
Open Notepad on the provided desktop.
Paste the data.
Save the file as Task 1.txt on the Desktop.
Create and Schedule the Report
While still in the Analysis session, click the Create Report (or 'Add to Report') button.
Report Name: MonitorSQL02
Report Settings:
Format: PDF
Frequency: Daily
Email Recipient: perf_group@ACME.org
Retention: 0 (or 'Do not retain', as requested).
Note: If the system forces you to create a new Report object and MonitorSQL02 is rejected, use monitorvm2 as the name per the instructions.
Save/Schedule the report.
Part 2: Diagnose and Fix the Issue
The Issue:
VM SQL02 was likely created with its data disks set to IDE or SATA.
Why this causes poor performance: IDE/SATA are emulated hardware with high CPU overhead and low queue depths (single-threaded).
The Standard: SQL01 (the healthy VM) is using SCSI, which is multithreaded and optimized for virtualization.
The Fix (Steps):
Navigate to the VM list in Prism.
Select SQL02 and click Update (or Edit).
Scroll down to the Disks section.
Identify the data disk(s). You will see the Bus Type listed as IDE or SATA.
Do not delete the VM. instead, perform a disk conversion (destructive change to the disk is allowed, but we want to keep the data).
Method to Convert (Clone to SCSI):
Hover over the IDE/SATA disk to see the path/filename of the vDisk (or write it down).
Click Add New Disk.
Operation: select Clone from ADSF file.
Path: Browse to the storage container and select the file associated with the current IDE disk.
Bus Type: Select SCSI (This is the critical fix).
Index: Ensure it doesn't conflict with existing disks (usually index 1 or higher for data).
Click Add.
Once the new SCSI disk is added, find the original IDE/SATA disk and click the X to remove it.
Click Save.
Note: You do not need to power on the VM to verify. The change from IDE to SCSI allows the VM to use the Nutanix VirtIO drivers for maximum storage performance.